How To Grow Ranunculus

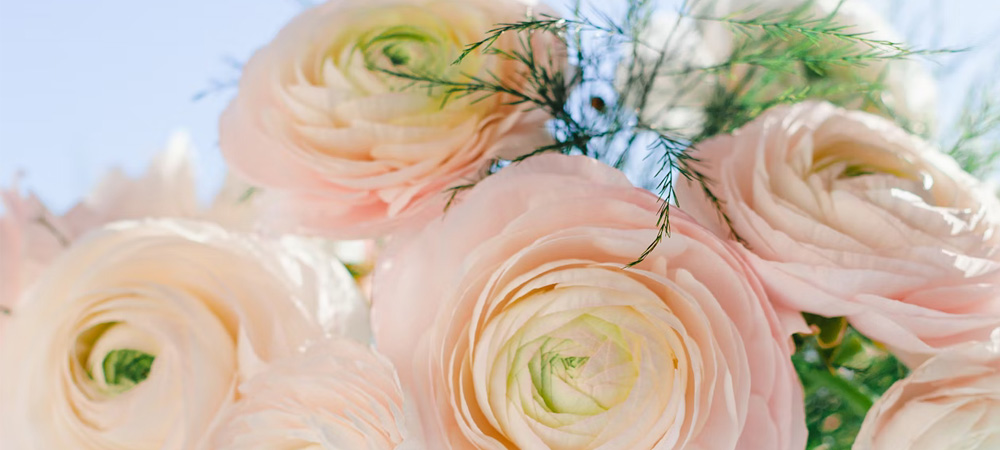
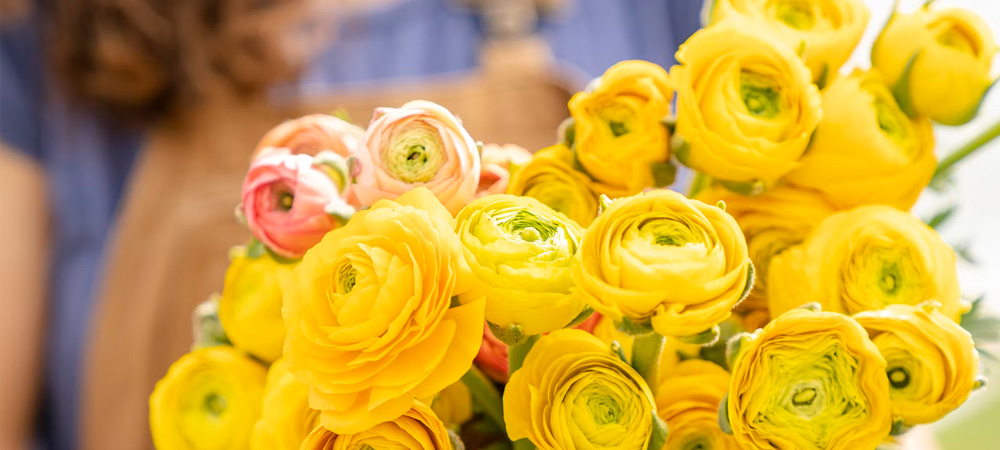
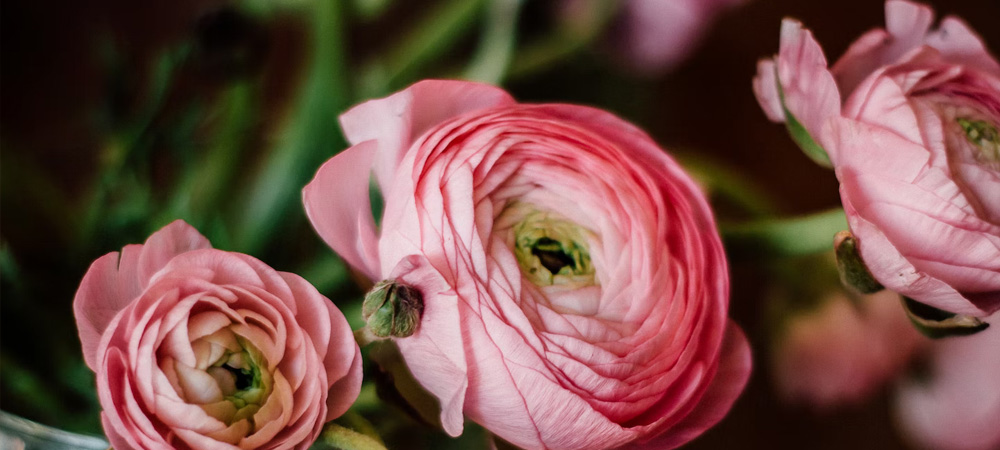
Ranunculus are spring flowers known for their beauty and for their rose-like appearance that comes in a variety of different colors. These flowers can be harder to grow than other flowers, but they are certainly worth it. In this article, we’ll explain the entire process of growing Ranunculus from when you should plant them to bed preparation and harvesting.
When Should You Plant Ranunculus?
Your growing area as well as how much protection you are able to provide determines when you should plant your Ranunculus corms. Protecting the Ranunculus corms from freezing is vital no matter where you live. These plants are allowed to take a light frost but never should be left to freeze. In almost all climates except of course cold ones, you can protect your Ranunculus simply by making a caterpillar tunnel made out of wire hoops and frost cloth made from poly material. Also, make sure to always cover your plants whenever the temperature drops below freezing temp.
If you’re gardening in 7-10 zones or even colder but can protect your ranunculus using a greenhouse or high tunnel, then it’s better to plant the ranunculus corms in fall or late winter or early spring. If you garden in 4-6 zones and don’t have access to a greenhouse or high tunnel, then you should start soaking and pre-sprouting the ranunculus corms very early in spring, about 4 weeks before the last frost date.
Soaking Ranunculus Corms
Ranunculus corms are in a dormant state when purchased. They can be stored at room temperature for several months. You’ll need two weeks to soak and pre-sprout the corms before planting them. Corms that have been pre-sprouted bloom 3 weeks earlier than corms that did not undergo the pre-sprouting process.

The Pre-Sprouting Process
I recommend using a planting tray with a flat bottom that has no drainage holes. You then fill it with 1 to 2 inches of high quality moistened growing mix. You must make sure that the soil is lightly moistened, not wet.
Why? Because, if the planting medium is wet, this will cause mold to appear and the ranunculus corms will rot. After soaking the corms, place the tuberous fingers pointing down to the growing medium. You can place them close to each other as they are only placed there for around 2 weeks. You then cover the corms with a small layer (less than an inch) of moistened growing mix. Just make sure, that it is moistened and not wet!!
You need to place the tray in a dark area to stay cool and dry. You can place it in any unheated room with the curtains closed. Make sure to avoid areas with high humidity at it can lead to your corms rotting. The ideal temperature for pre-sprouting is 10 degrees Celsius.
During the sprouting phase, the soil should always be lightly moist, not wet and not dry! So, make sure to check the soil daily for any signs of rot. If you happen to find any rotten corms, remove them immediately. It is common for beginners to lose some corms. Just learn from your mistakes and adjust your methods accordingly. Once you find the ideal place for the pre-sprouting process, you’ll barley lose any corms.
Within two to three weeks, the corms will have developed roots and began sprouting. That is the perfect time to start planting your ranunculus corms.

Transplanting Pre-Sprouted Ranunculus Corms
Ranunculus need a nutrient rich soil and direct sunlight to grow. Before planting, you’ll need to prepare the planting area. Start by adding several inches of your chosen compost to the soil. You’ll then need to plant your ranunculus corms about 2 inches deep and leave a spacing of 9 inches between each corm. Cover the plantings with a piece of frost cloth if you’re expecting freezing temperatures.
So, generally you should leave them uncovered and exposed to the sun unless the temperature goes below freezing point, then you should cover them.
When to Harvest Your Ranunculus Corms?
Ranunculus corms start flowering three months after being planted. Ranunculus coms that are planted in the fall tend to bloom much earlier than corms planted in the spring. You should get flowers for about four to seven weeks. That depends on when you plant the corms as well as the climate conditions. Warm climates will have a shorter bloom time.
Ranunculus are known to be cool climate plants as they don’t like the heat. So, if the temperature increases above 21 Celsius, they will stop producing buds and go dormant. Experienced farms in warmer areas will use a shade cloth to protect the plants from the heat.
To make sure you get a great crop of flowers, buy the corms on an annual basis. This will ensure you get an amazing crop.
Ranunculus are known to live a long vase live. They tend to have a vase life of 10 days. Ranunculus open in the day and close at night-time. Make sure to harvest the flowers after they start opening and closing by about 3 days. However, if the central bud feels a bit hard, then leave it for a day or two until it feels soft like a marshmallow.
This might seem a bit complicated but don’t be afraid to try. You might get a bad crop the first time, but with experience you’ll get an amazing crop in no time. It’s hard to adjust your growing area and methods to accommodate these beautiful flowers but trust me, these flowers are definitely worth the effort!
Related Growing Guides:
- Chillies
- Tomatoes
- How to Plant Tomatoes in an Unheated Greenhouse
- How to String Tomatoes in a Greenhouse
- Grapes
- Cucumbers
- Peppers
- Lettuce
- Strawberries
- Melons
- Poinsettias
- Garlic
- Orchids
- Lavender
- Mushrooms
- Kiwi Fruit
Conclusion
We hope you enjoyed our article on how to grow ranunculus.
If you have any questions, leave them in the comments, or email info@swgreenhouses.co.uk.
Read next:
- How To Pot and Plant Dahlias
- Greenhouse Gardening for Beginners
- What to Grow in a Greenhouse for Beginners
- What to Grow in a Small Greenhouse
- What to Grow in a Greenhouse in Summer
- What to Grow in a Greenhouse in Winter
- How to Grow Seeds in a Greenhouse
- When To Pinch Out Plants
- What Vegetables to Grow in a Greenhouse
 Author: